Support & Resistance
Learn how key reaction zones shape entries, exits and market structure.

Support & Resistance
- Trade with structure
- Buy support, sell resistance
- Wait for confirmation
- Never force mid-range entries
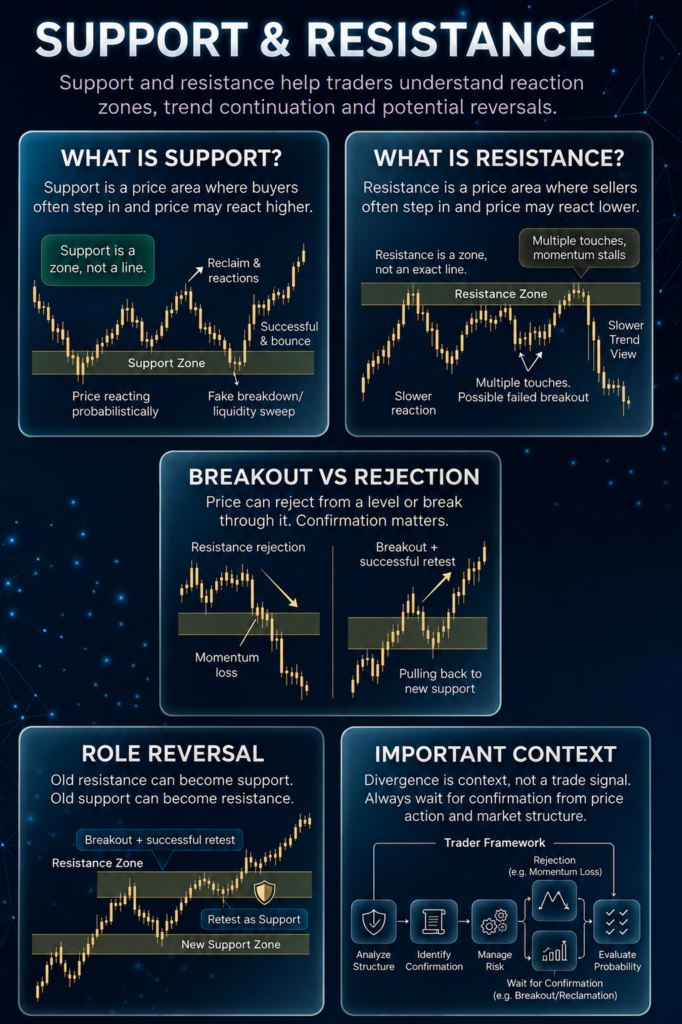
Support and resistance are key reaction zones where liquidity builds and price often changes behavior.
Support acts as a floor where buyers defend price. Resistance acts as a ceiling where sellers defend price.
Strong traders treat these levels as reaction zones, not exact lines.
What Is Support
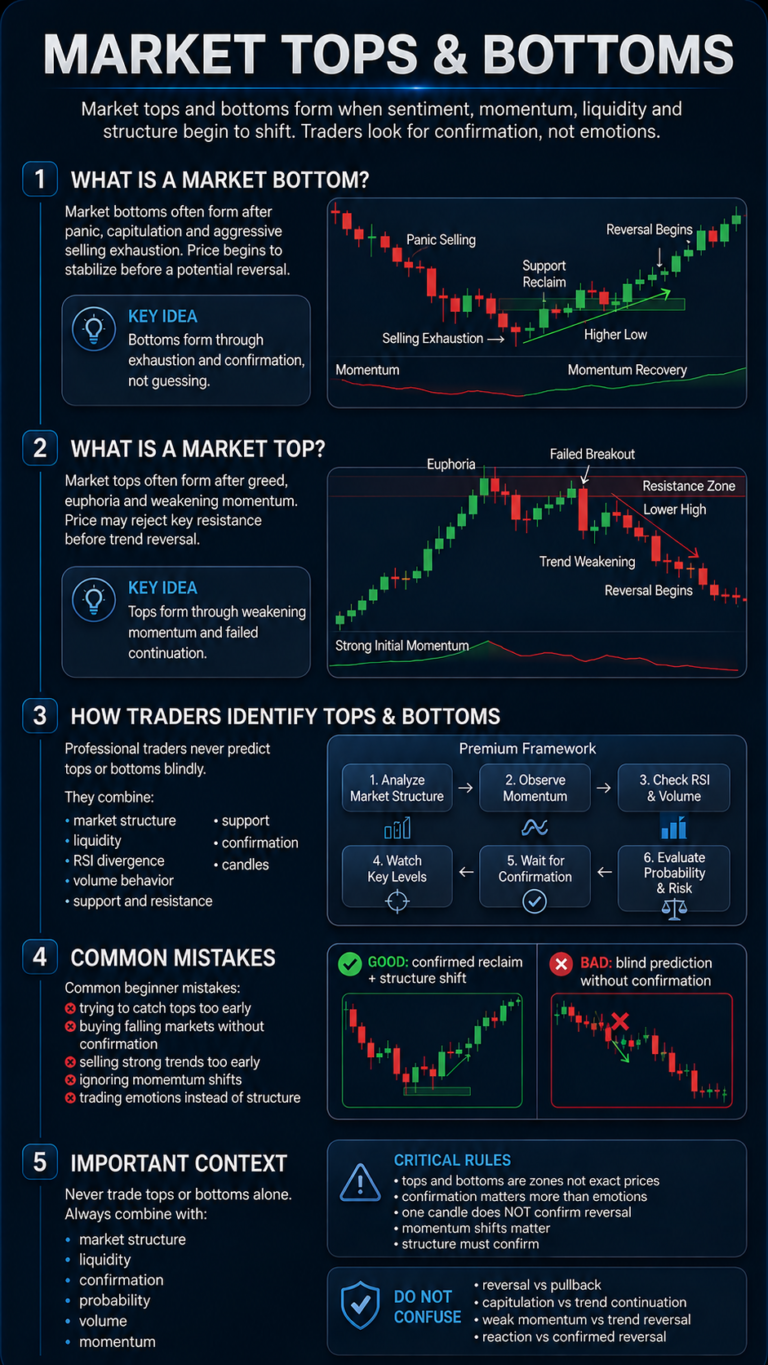
Support forms when selling pressure slows and buyers begin defending price.
- Price stops making lower lows
- Wicks appear below the level
- Demand absorbs selling pressure
- Higher lows begin forming
Strong support often appears after liquidity sweeps below previous lows.
What Is Resistance
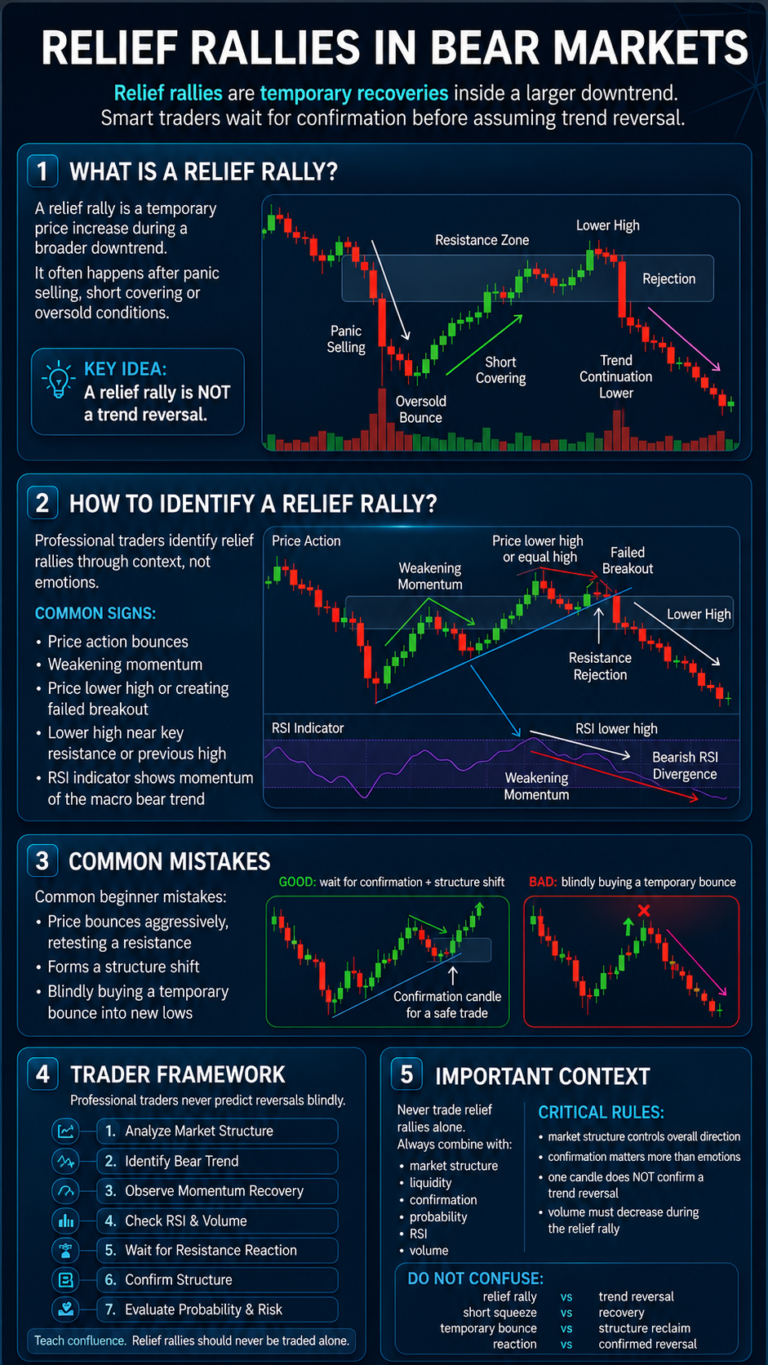
Resistance forms when buying pressure weakens and sellers reject higher prices.
- Price fails to make higher highs
- Wicks appear above the level
- Supply rejects bullish candles
- Lower highs begin forming
Failed breakouts often appear near resistance zones.
Entry Strategies
1. Reclaim Setup
Price sweeps below support, reclaims the level and confirms continuation.
2. Failed Resistance
Price taps resistance, rejects the level and confirms weakness.
3. Break And Retest
Price breaks the level, retests it and confirms continuation.
Always combine support and resistance with market structure and liquidity.
Common Mistakes
- Buying directly into resistance
- Shorting directly into support
- Forcing trades in mid-range
- Ignoring liquidity sweeps
- Assuming levels always hold
Quick Recap
- Support is where buyers defend price
- Resistance is where sellers react
- Levels work best with structure
- Confirmation improves entries
- Reaction zones matter more than exact lines
- Support and resistance are zones, not exact lines.